1. Setting up the Environment
Get ready to embark on a new journey in your web development career! From this lesson, we'll be creating rails applications together, where you'll learn how to create full-featured applications.
How to gain the most out of the lessons
- Don't copy and paste - it is always better to actually type the code yourself. Muscle memory is really important when learning how to code!
- Ask Questions - whenever something doesn't make sense to you, first google, then ask for help! We are always here to help out.
- Don't be frustrated - some of these lessons might be difficult for you, but don't be frustrated, it's part of learning, and it is important to relax and keep on going.
Let's get started!
What we will be building
It is a simple web application where users can post ideas free onto the website. Think of it as a super simple version of Twitter.
Setting Up Your Environment
We will need NodeJs, Ruby and Yarn to be installed on your workstation to continue with our lessons. Repl won't work for Ruby on Rails app. We suggest you to install NodeJs with the help of tool nodenv and install Ruby on your workstation using rbenv. Both nodenv and rbenv are version manager for NodeJs and Ruby respectively.
How to create a new Rails application
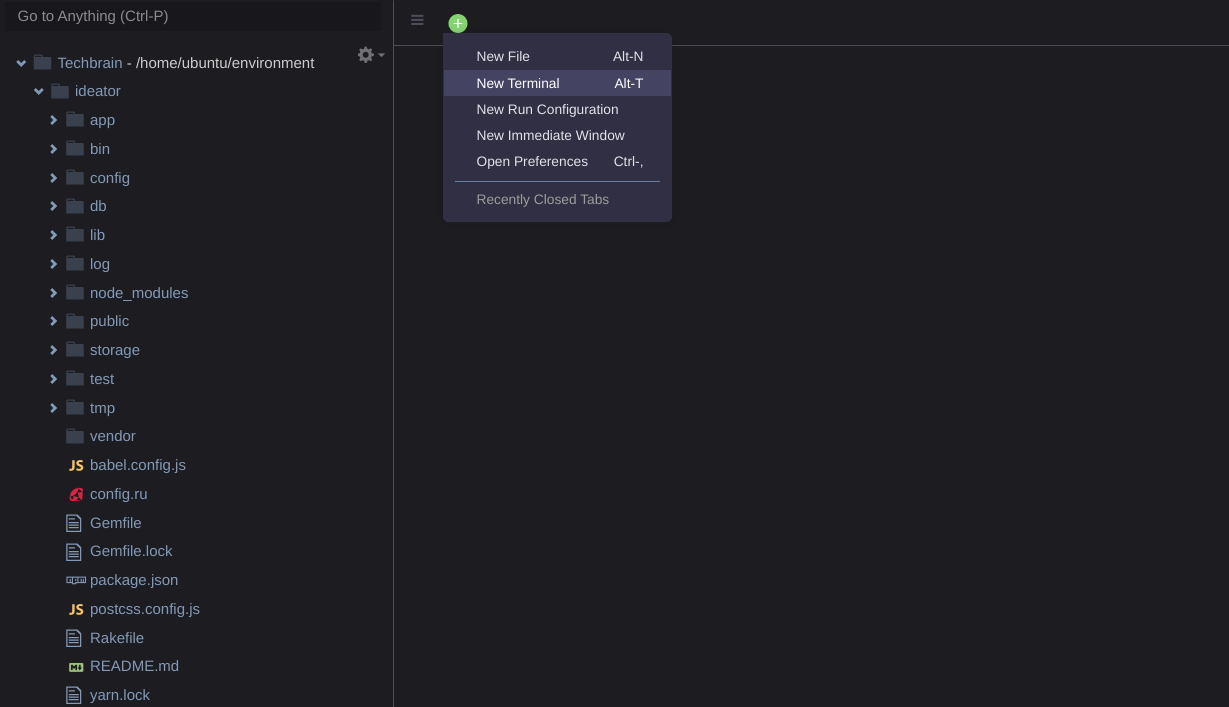
Once we have the NodeJs, Yarn and Ruby installed on our system, we are ready to continue to build our first Ruby on Rails application. Open up a terminal. The terminal is where we'll be entering our commands. The command to create a new Rails application is this:
Install latest stable version of rails with
gem install rails.
gem install rails
rails new ideator --skip-solid --database=postgresql --js=esbuild --css=tailwind
You can replace
ideatorwith any name that you want to give your app. Running this command will automatically generate many files for you so that you can get started on building your application instantly.Running the command should create a bunch of files, and you shouldn't get any errors.
For every new Rails application, we have to create our initial database. Let's change our working directory to our newly generated project. In the terminal enter the following commands:
cd ideator
Databases
Databases are like a box that contains a bunch of information. In the database, we can store various types of data and we can also pull out data from the database.
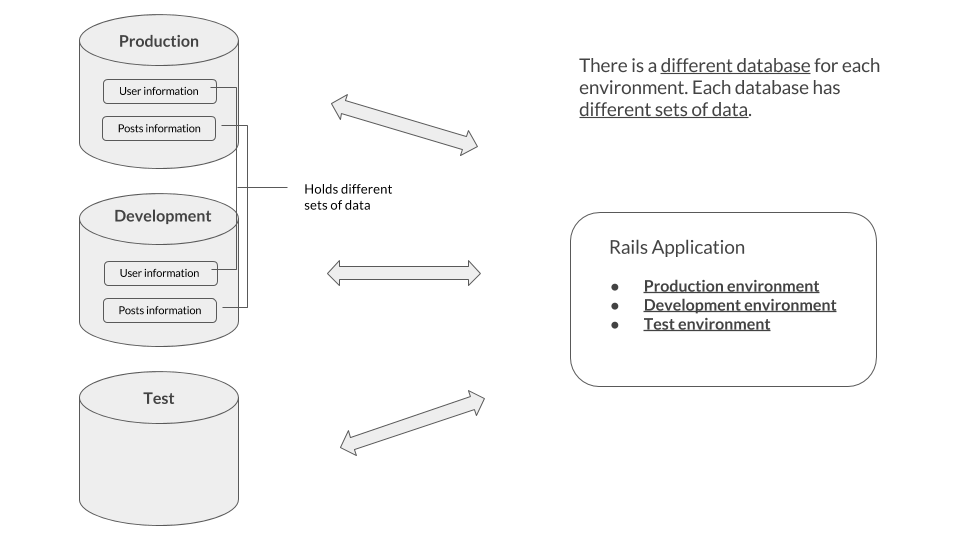
In Rails, we create different databases for different purposes:
Environment Purpose development We use the development environment to develop our applications. production This is the environment that will be used when released to the public. test This is the environment that you will be using when testing the functionality of your application.
rails db:create
We run the
rails db:createcommand to create a new database. This command creates a new database according to the information in thedatabase.ymlfile. Make sure to update the database.yml file with your postgresql credentials.database.yml
This file contains the database settings. Rails applications have different databases for each environment, so there are different configurations for each environment.
Go to config/database.yml and instead of default value in development we need to replace the development code with following and make sure the database name is correct:
`development:
  adapter: postgresql
  encoding: unicode
  database: ideator_development
  username: username
  password: password
  host: localhost`
Make sure you enter the correct postgresql username and password.
Then go back to the terminal and run.
rails db:create
Now let's fire up our rails server by entering this command in the terminal window.
bin/dev
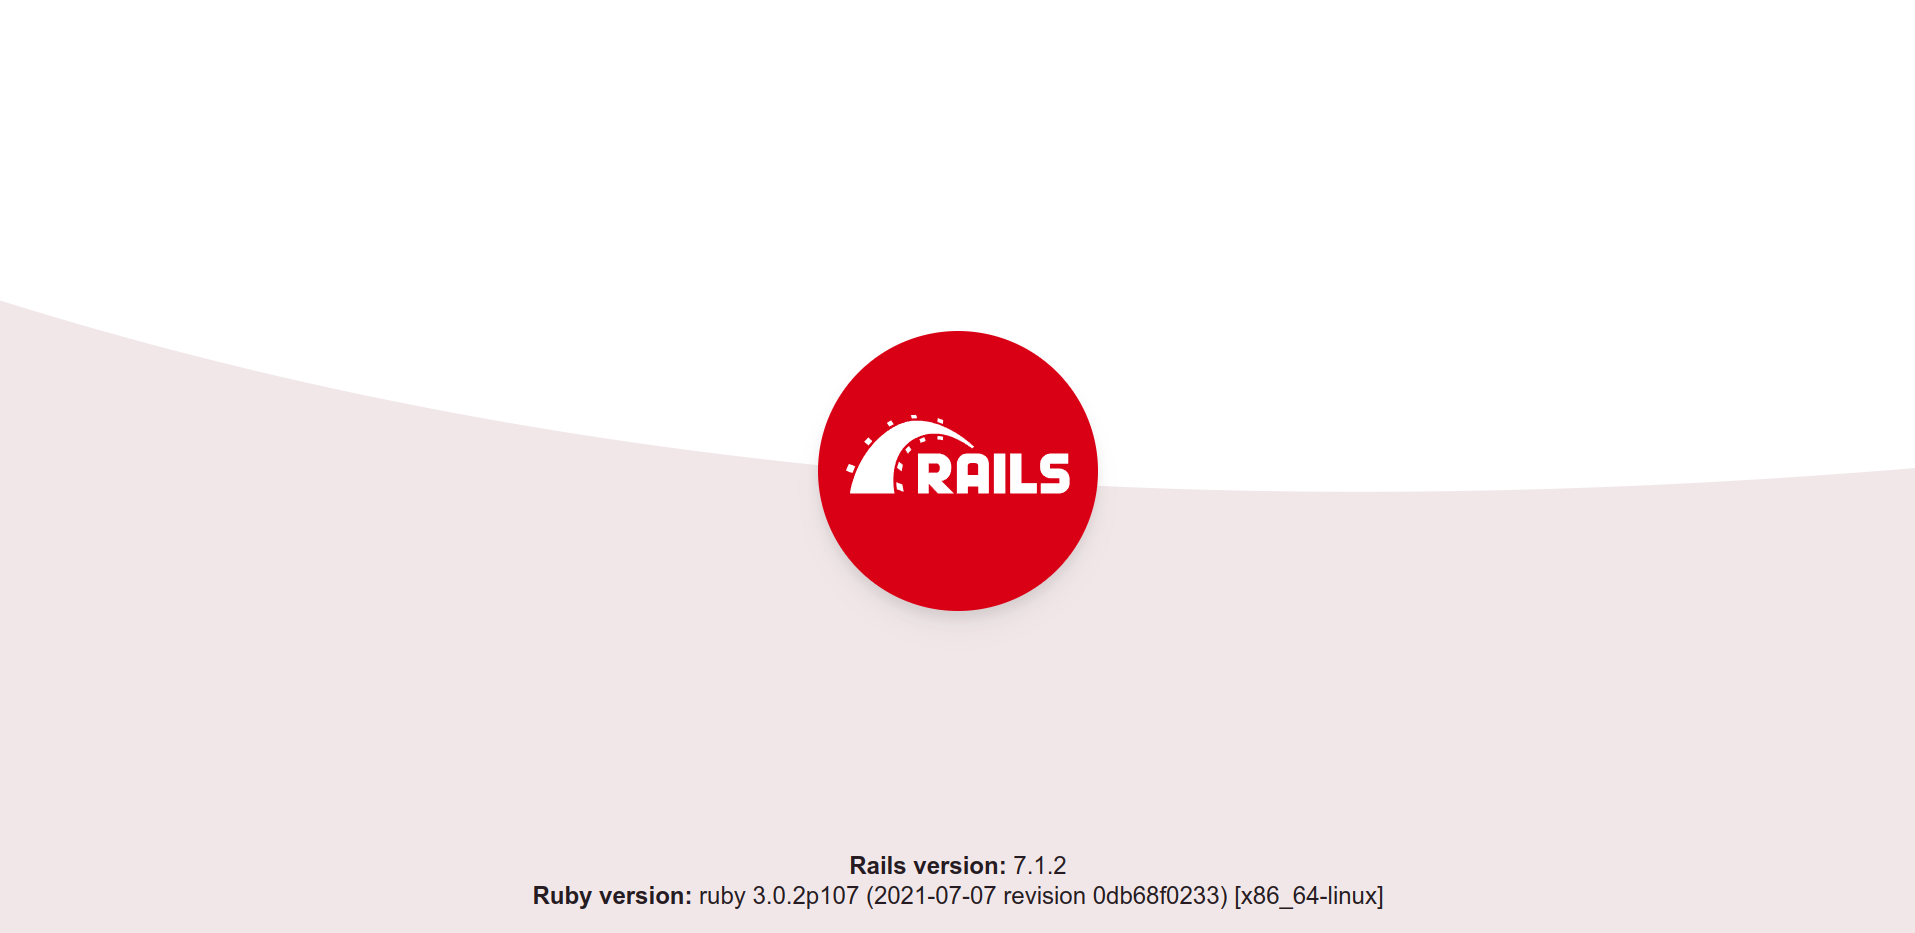
Now you can visit URL http://localhost:3000 to see your first Ruby on Rails page. localhost:3000
You should see a nice welcome page from Ruby on Rails.
Awesome! You're one step closer to finishing your first rails app!